Artwork Portal
Herramienta para el trabajo y el control de calidad (QC) de materiales gráficos. Se utiliza principalmente para material gráfico de Producto.

Herramienta para el trabajo y el control de calidad (QC) de materiales gráficos. Se utiliza principalmente para material gráfico de Producto.
Artwork Portal is a web-based artwork fulfillment and quality control (QC) tool that allows users to deliver artwork for titles launching on Netflix, including localized artwork. In addition, Artwork Portal also supports marketing artwork deliveries for final Key Art and Logos.
The process of delivering can be as simple as dragging and dropping assets onto the web page and clicking on a Deliver button, but there are file requirements and workflow processes that must be followed to ensure a successful delivery.
If you need access yourself, you can use this form and a member of our support team will be in touch.
If you need help setting up a team member(s), you can request access through the in-app support icon (which looks like a question-mark) in the upper right-hand corner. Please provide the team member’s full name (first and last), email address and the name of the company they should be associated with.
Please note that there are two types of roles for our agency partners, and you should specify which role you think is best suited for their needs:
Cuando te añadan a un proyecto del Artwork Portal, recibirás un correo con el enlace para acceder a ese proyecto. Ese enlace te llevará a una página de inicio de sesión. Inicia sesión con la dirección de correo y contraseña que creaste para tu cuenta de Netflix.
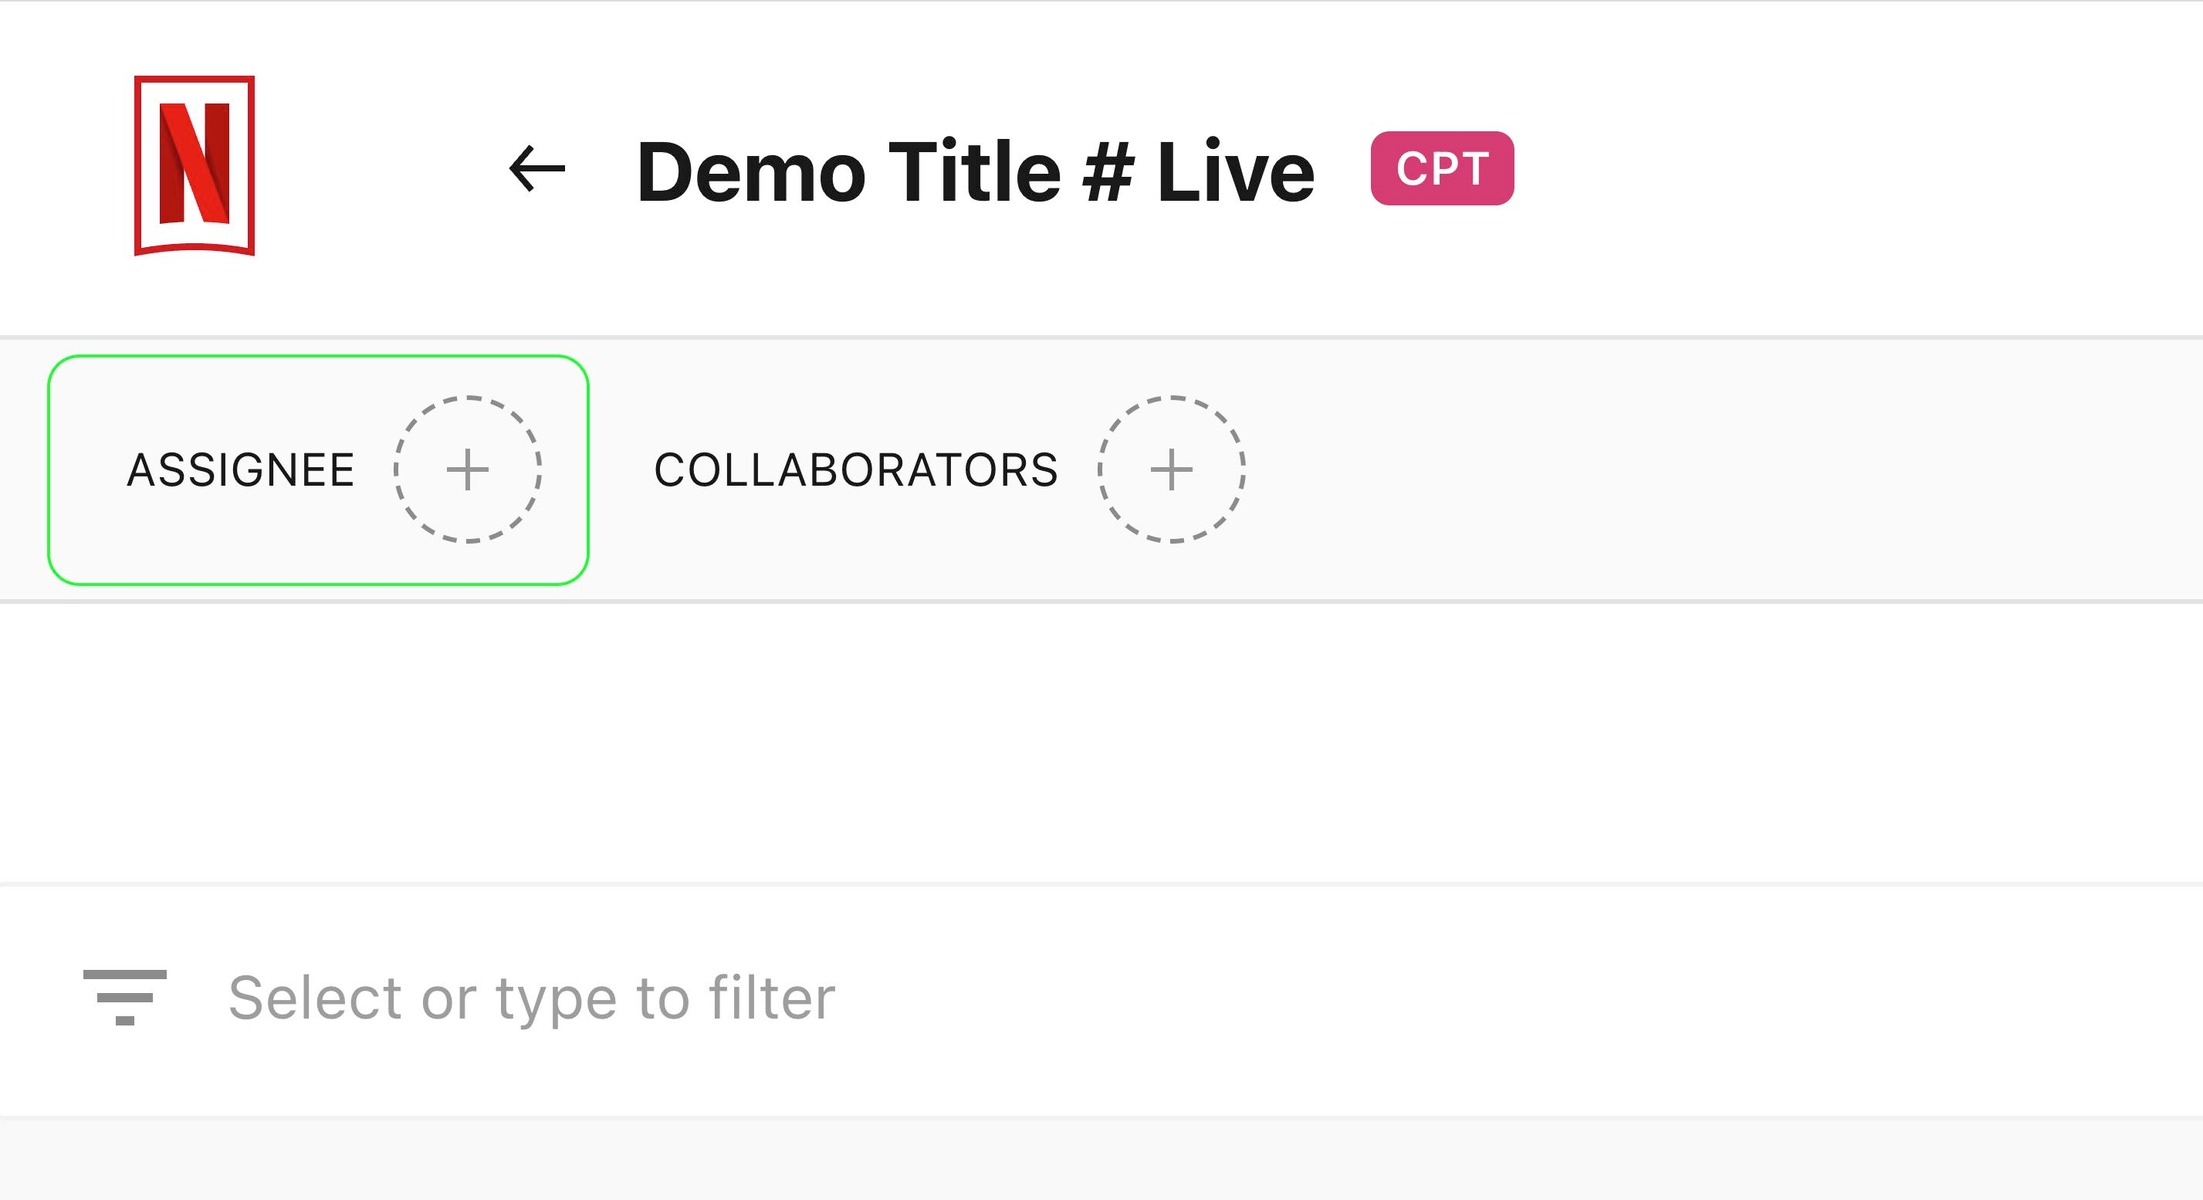
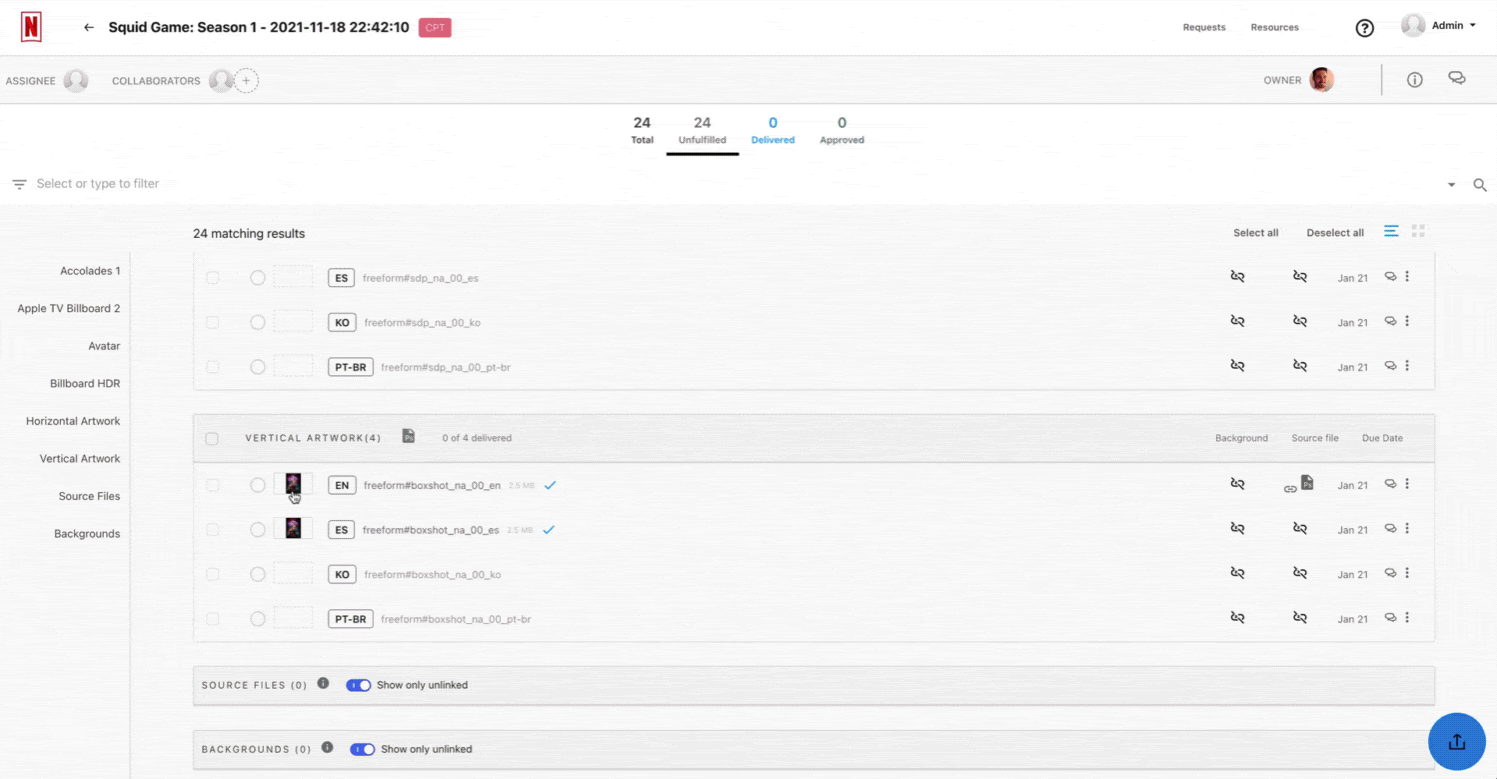
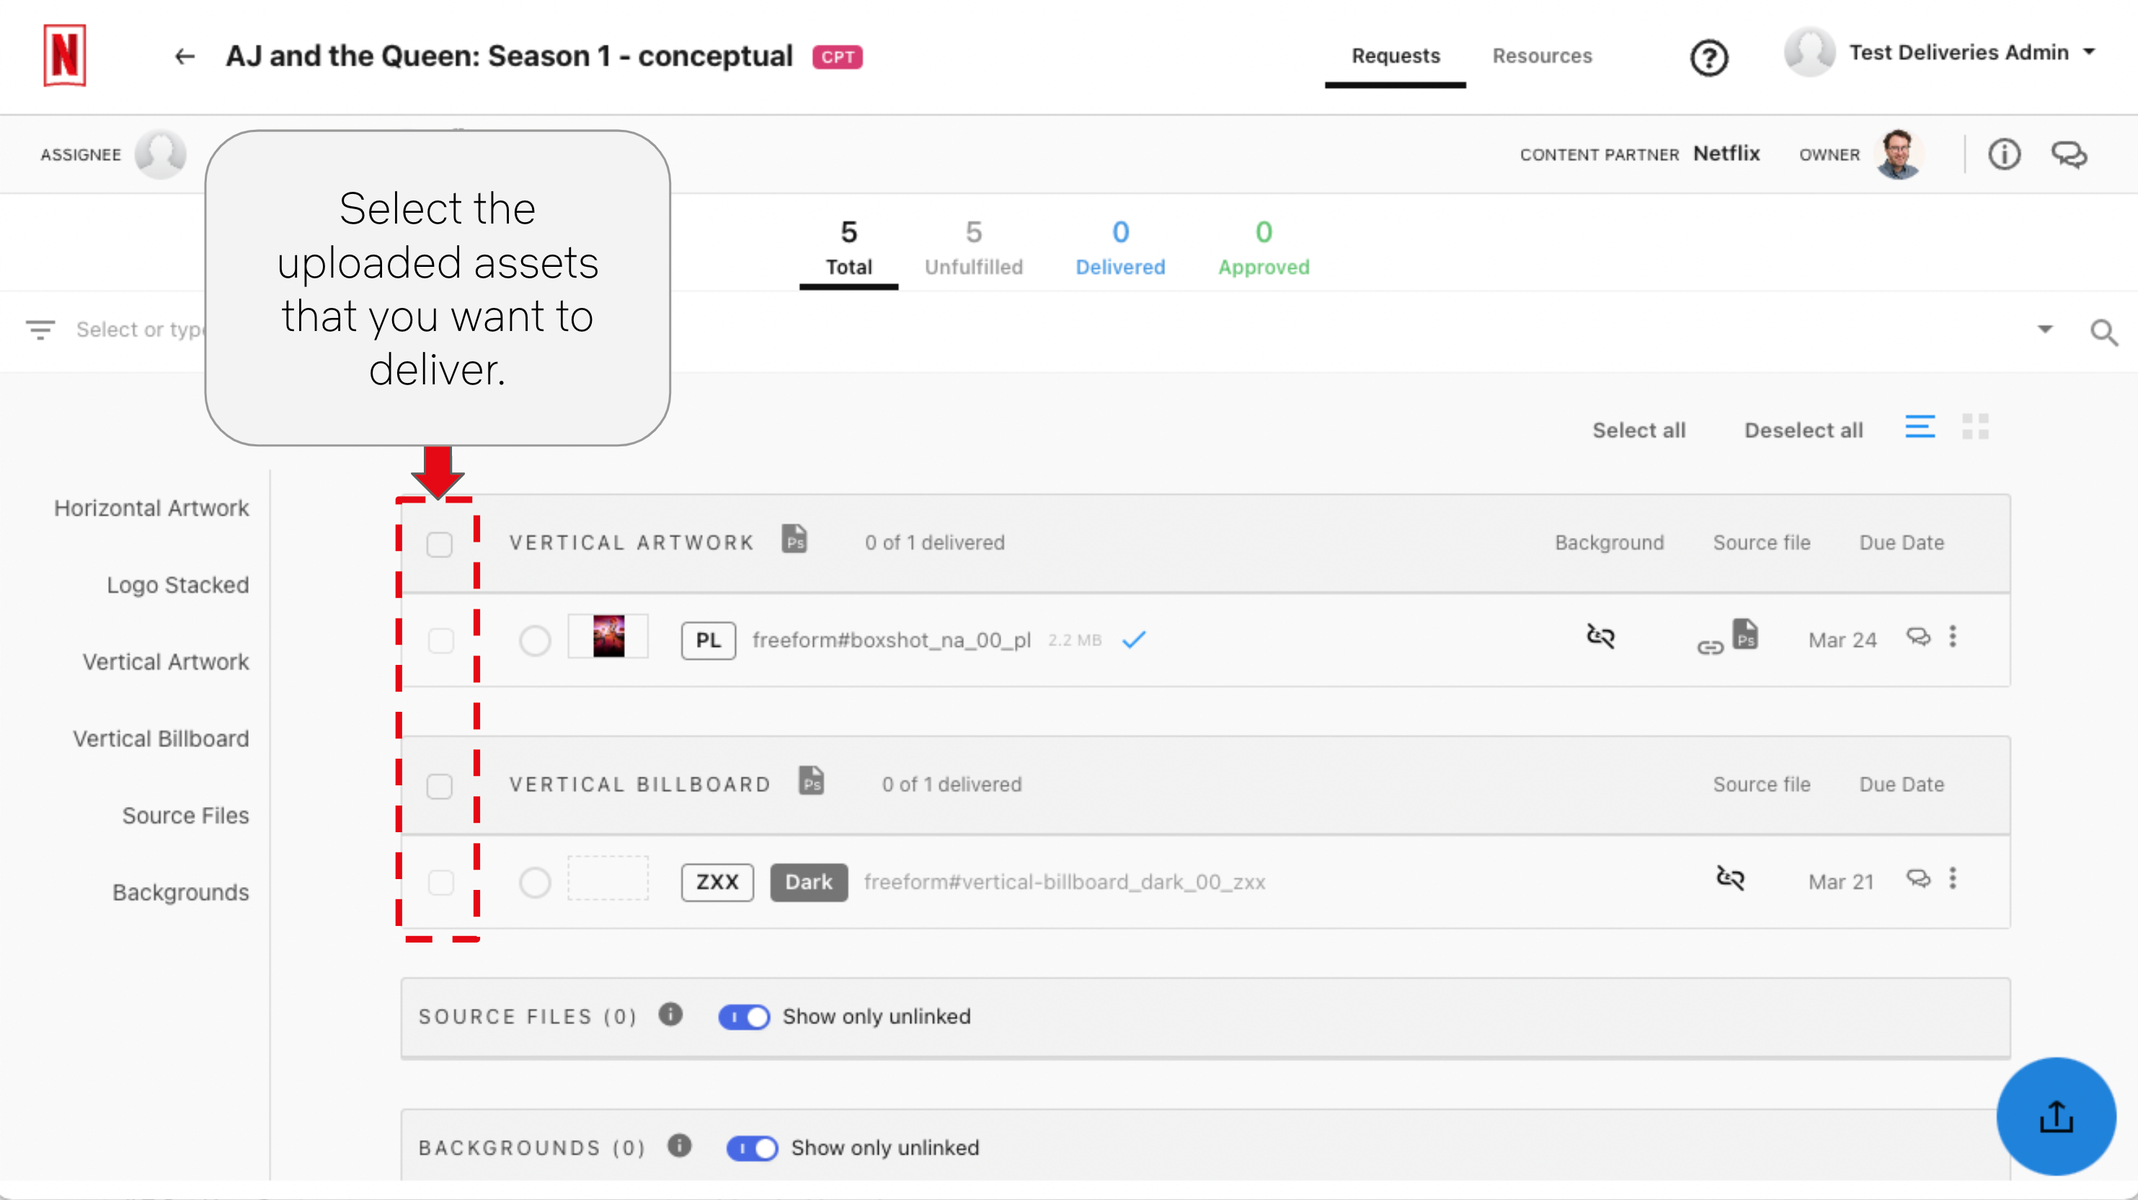
El proyecto se configurará con diversas solicitudes, cada una de un campo de trabajo (Billboard, Story Art, etc.). Estas solicitudes son elementos de línea que se subirán a los assets finales cuando estén listos.
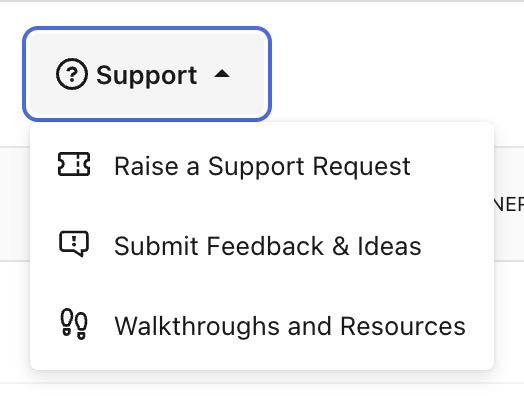
Artwork Portal tiene recursos para ayudarte a moverte por la herramienta y a entender sus aspectos básicos. Para acceder a ellos, selecciona el botón que parece un signo de interrogación, situado en la esquina superior derecha de la pantalla.
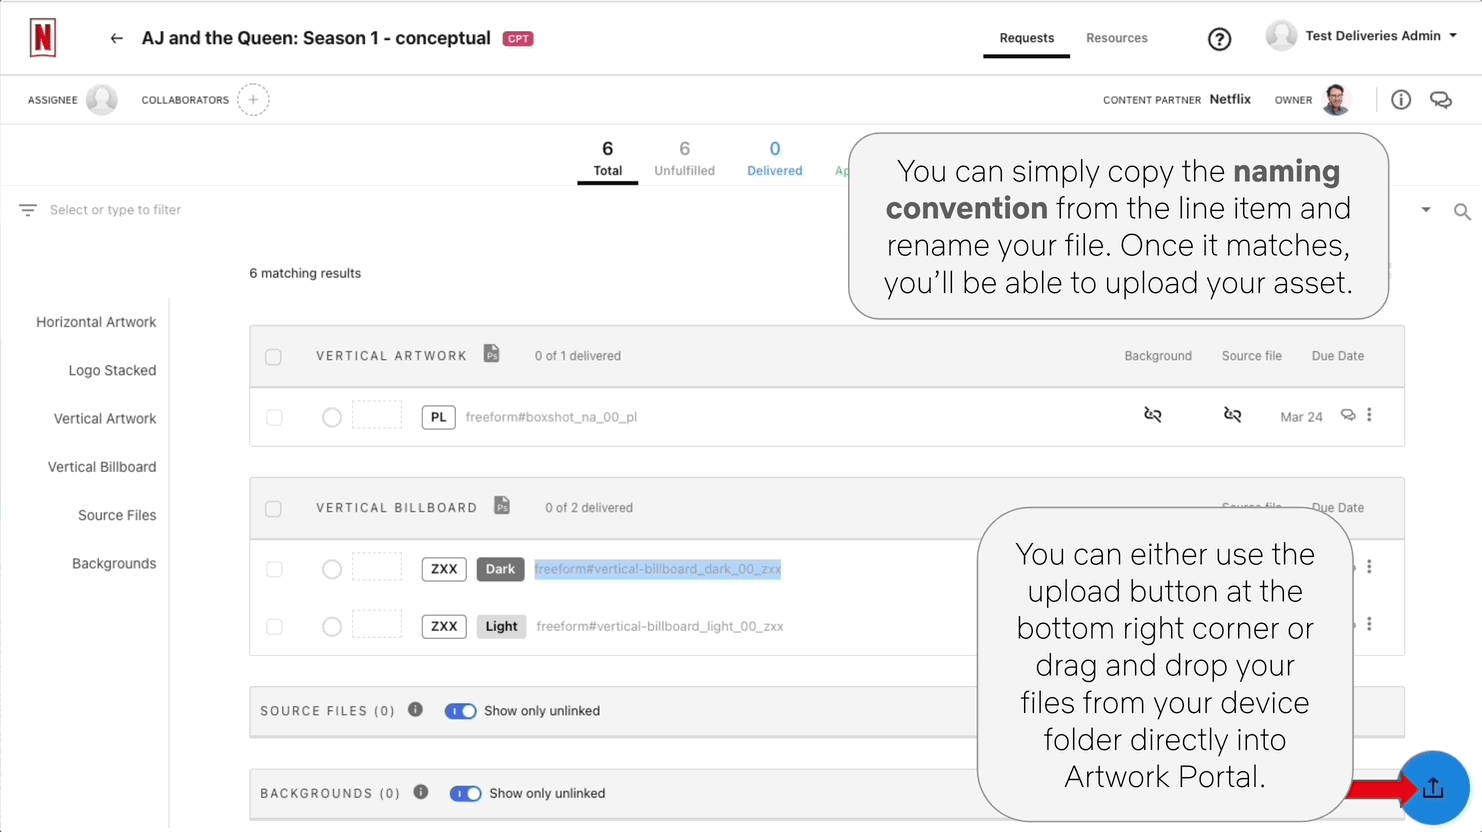
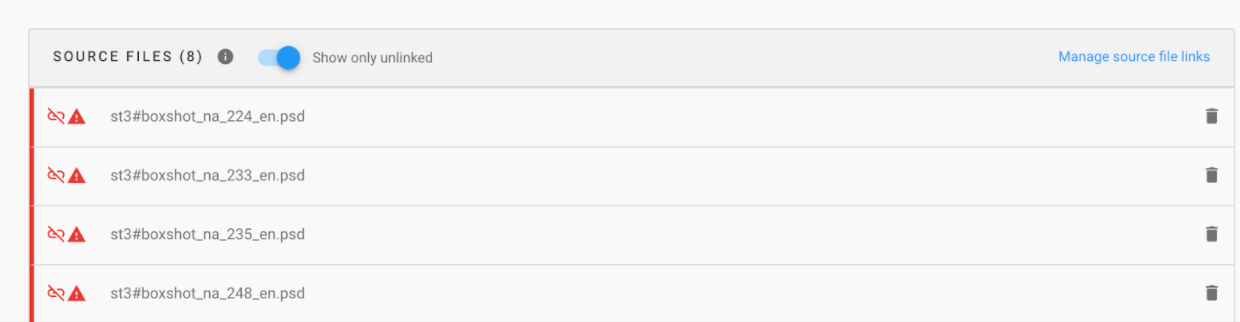
Antes de subir assets, debes seguir ciertos pasos.
Para poder entregar los archivos, debes elegir una persona asignada en el Artwork Portal. Si quieres ser tú mismo/a, haz clic en el botón «+» que hay al lado de «Assignee».
Si tú y otros miembros del equipo estáis trabajando juntos en la entrega, añádelos al proyecto haciendo clic en el botón «+» que hay al lado de «Collaborators» (colaboradores).
Si no aparece el nombre de tu compañero/a de equipo, a lo mejor no tiene acceso al Artwork Portal. Puedes pedir acceso para un miembro del equipo con el icono de ayuda (que parece un signo de interrogación) que verás en la esquina superior derecha de la pantalla. Indica el nombre, apellidos y dirección de correo electrónico de la persona del equipo y el nombre de la empresa a la que debe asociarse.
Artwork Portal uses a file naming convention. The tool will not upload files if they are named incorrectly.
See the below guide on how to name your files.
File naming convention examples
Please note that the freeform section text is up to you, you can leave it as it is, but it can be helpful for keeping track of your files and it is typically used to identify the name of the title.
When working on Conceptual projects ensure you add number sequencing to your filenames.
Example: freeform#storyart_na_01_zxx, freeform#storyart_na_02_zxx
File Naming Guidelines for AVA Recommended Stills
If you downloaded an asset using the AVA Recommended Stills feature, please ensure you follow the steps below to name your files correctly.
Identify the AVA Recommendations ID
When downloading a Recommended image from AVA, there will be a unique sequence of numbers and letters surrounded by brackets in the file name. This is the AVA Recommendations ID. For example:
Red_Notice_(JgfyRbjFQO)_n_00_11_53_17.png
Copy this ID, but do not include the brackets.
Incorporate the ID into the File Name
Paste this ID into the file name for all final assets downloaded from MUT or uploaded from MUT to Artwork Portal. The ID should appear before the # in the standard file name. This ensures the file adheres to the required format for uploading to Artwork Portal.
Example:
Red_Notice_JgfyRbjFQO#storyart_na_20_zxx.png
Using Multiple Recommended Stills
If the final artwork includes more than one still frame and one of them is a Recommended still frame, include the ID in the final artwork filename.
If multiple Recommended stills are used in a final asset, include all image IDs in the filename, separated by a pipe delimiter (|). For example:
Red_Notice_JgfyRbjFQO|AsdKlmNPOI#billboard_dark_ltr_01_zxx.png
Purpose of the ID
The AVA Recommendations ID provides "lineage" to track how frequently teams utilize AVA Recommendations and how well these assets drive engagement with members. It is crucial for ensuring accurate tracking and improving AVA’s recommendations.
Ensure the ID is present in all final AVA Recommended assets delivered to Artwork Portal.
Language-specific assets
Non-language assets
These assets are Avatar, Boxshot, SDP, Logo Horizontal Dark/Light, and Logo Stacked Dark/Light. The file name will end with a specific language code. For example Spanish (es):
freeform#avatar_na_01_es
freeform#boxshot_na_01_es
freeform#sdp_na_01_es
freeform#logo-stacked_light_01_es
freeform#logo-horizontal_dark_01_es
The easiest way to manage these language types is to simply copy the file name from the request in Artwork Portal and paste it into your file name.
These assets will end with the non-language code zxx.
freeform#billboard_dark_ltr_01_zxx
freeform#billboard_dark_rtl_01_zxx
freeform#character-pose_na_01_zxx
freeform#character-story_na_01_zxx
freeform#short-panel_dark_01_zxx
freeform#storyart_na_01_zxx
freeform#tcard-background_dark_01_zxx
freeform#universal-base_na_01_zxx
freeform#vertical-background_dark_01_zxx
freeform#vertical-background-animated_dark_01_zxx
freeform#vertical-billboard_dark_01_zxx
Billboards can be oriented from LTR (Left-to-Right) or RTL (Right-to-Left) to support the direction that a language is written in. It is required to specify the asset direction in the file name like the following example:
freeform#billboard_dark_ltr_01_zxx
freeform#billboard_dark_rtl_01_zxx
Only two asset types require a background image in addition to an image with the logo burned into the JPG - the SDP and the Boxshot. These assets will have two JPGs when they are delivered, one with a logo burned into the image, and the other will be texteless. The textless image is known as the background.
The Title Card JPG is known as a Background because it is a textless asset and Netflix will place the logo on this asset dynamically. You do not need to deliver a Title Card JPG with the logo burned in. The right naming convention is freeform#tcard-background_dark_00_zxx.jpg.
An asset can either have a Light tone or a Dark tone, but some do not require a tone at all and their tone will include na instead. Asset tones work in conjunction with each other, so an asset that is tagged as dark will be paired with a light logo.
The Universal Base Asset is the primary image type from which all others are derived. Designers create a piece of artwork in one PSD, they use the Mockup Tool (MUT) to preview their work, and then MUT provides final, delivery-ready JPGs that fulfill most of the asset types necessary for delivery.
When delivering with the UBA, the UBA PSD is the source file and it has a one-to-many relationship with the JPGs derived from it, meaning that many JPGs will link back to a single UBA PSD as their source. You can watch this video to learn more about how to use UBA, Mockup Tool, and Artwork Portal together.
There are a couple exceptions though. The following asset types have a one-to-one relationship between their PSD and PNGs because they require creation within their own, specific PSD:
Logos - four logos are required for all titles
Character Art - only required for titles appearing in the Kids UI
Avatars - only required when Netflix is making avatars available for members from the title you are working on
The uploading process is simply dragging and dropping the assets onto the web page at which time Aspera Connect will automatically launch and begin the transfer process.
A few things to note:
The Mockup Tool will export JPGs with most of the expected naming convention for Artwork Portal, but you will need to manage the sequence number, the language code and tone as applicable for the asset and your title. The exception is for logos, these will export in PNG.
Several assets can be dragged and dropped at the same time.
The source file only needs to be uploaded once, and should auto link to each asset in the order list (excluding Avatar, Character Art and Logos).
You can adjust your order and upload more assets than requested. So if you see 3 requests for Billboard, you can add a 4th to your order and upload a 4th, or more. However, you cannot upload fewer than requested without consulting with the project owner because if you don’t deliver everything requested the job will not be complete.
You can remove assets or the order line item requrest by clicking the three dots all the way on the right and selecting REMOVE ASSET. However, you cannot remove an asset if it will fall below the minimum order delivery amount required.
If you’ve made a mistake and want to replace an asset you uploaded, just drag and drop the asset again over the one you would like to replace with the exact same name and select REPLACE.
RTL Billboards get uploaded in the Billboard section, there is not a separate place for them.
If you drag assets over to the Artwork Portal interface you will have the option to drop them on a specific order request, or in a general drop zone at the bottom of the page:
Please remember that regardless, all files need to be named properly or Artwork Portal will not know which requests to associate them with.
Once uploading has completed you may find that some of your JPGs and PSDs are already linked, while others are not. Artwork portal is only able to link JPGs and PSDs that share the same file name. Example: SkyRojo#logo-stacked_light_01_es.png and SkyRojo#logo-stacked_light_01_es.psd.
In the event that some of your JPGs did not auto-link to the UBA psd you will need to link it yourself. You can manually link them by clicking on the “link” icon, toggling off “Show Unlinked PSDs” and choosing the correct PSD from the list of PSDs you see there.
Successfully linked source files are indicated by a photoshop icon.
All successfully uploaded source files and backgrounds will also appear collectively at the bottom of the page order.
You can click on the thumbnail image of any asset you’ve delivered and that will open up the Asset Viewer where you can view the asset larger.
In this view, you can toggle safe zones on and off and see which files are linked. You can also have a conversation in the comments section about this asset with the project owner.
Please ensure that your delivered artwork does not include Netflix logos, any badges, or any UI elements. Only SDP and Boxshot should have logos burned into the main image, everything else must be textless.
Only assets that have all required, associated files links can be delivered.
Select the checkboxes to the left of each asset that is successfully uploaded and linked. Then click on the blue DELIVER button that appears at the top right of the order list.
A dialog box will pop up asking you to confirm that you want to deliver the assets selected. An email will be sent to the project owner notifying them assets have been delivered.
The project owner will QC all assets and if anything needs to be fixed, they will reject those assets. You will receive an email letting you know if the assets delivered have been Approved or Rejected.
For Rejected assets, once you have fixed the files you can upload the new files by dragging and dropping over the rejected line item.
1 - Filename does not match any existing requests.
Double check there are no spaces, # is present, and language code is correct.
2 - Internet connectivity was lost.
Refresh the page. Sometimes it will time out.
Everything else
Clear cache and cookies, then refresh the page.
Check that Aspera and Chrome are up to date.
If the above solutions don’t work, then submit a help ticket within the Artwork Portal.
Avoid uploading any JPG or PNG that is roughly over 8MB. JPGs and PNGs larger than this often contain XMP Data, which is essentially metadata from the project source file. Unfortunately Artwork Portal can’t detect it, but the delivered images will appear as broken when Netflix receives them and they will have to be redelivered.
In order to prevent this from happening, please use any or all of the following tips:
Use Export As > PNG instead of Save As > PNG to prevent the data build up from saving into the PNG.
Use fresh PSDs, rather than reusing PSDs, each time you create a logo (or any artwork) to prevent data build up: template-library.
Learn how to remove XMP data from your PSDs from this Adobe support article.
If uploading was successful but the checkbox is grayed out, try uploading the JPEG again. If that doesn’t work, try uploading both JPEG and PSD.
If the “in progress” icon is spinning after uploading, thus preventing the checkbox from being available, try refreshing and then giving it a minute to process. Artwork Portal allows any size of PSD, PSB, AI and AE file, but some larger files may require more time to upload and process.
You can use the chat icon in the top right corner to connect with the project owner directly in the Artwork Portal. Use “@” to tag anyone’s name specifically.
You can also have comments and conversations specifically about assets you’ve delivered by clicking directly on the asset and using the comment section in the dialog that will open up.
Si sigues teniendo dificultades para manejarte con la herramienta, pide más ayuda o formación. Haz clic en el botón de más abajo para consultar más información.